
시작하기 전
리액트의 CRA 처럼 익스텐션을 만드는 키트같은 것이 존재합니다.
yo generator-code 설치를 합니다.
npm install -g yo generator-code
설치가 완료되면 아래 명령어를 실행합니다.
yo code
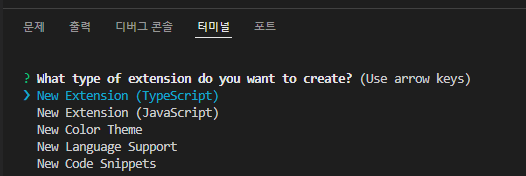
extention을 만들기 위해, 기본 설정을 고르라고 하는데 New Extention (TypeScript) 를 고르겠습니다.
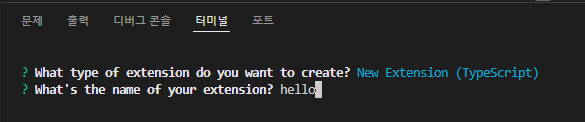
extention의 이름을 입력하라고 합니다, hello 지었습니다.
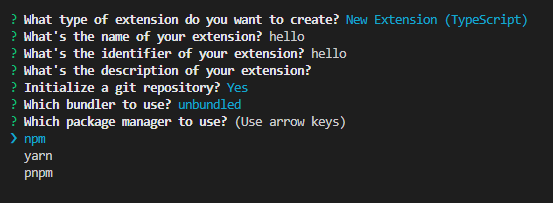
나머지는 기본 설정을 따릅니다.
프로젝트 시작 및 실행
프로젝트가 설치되었습니다.
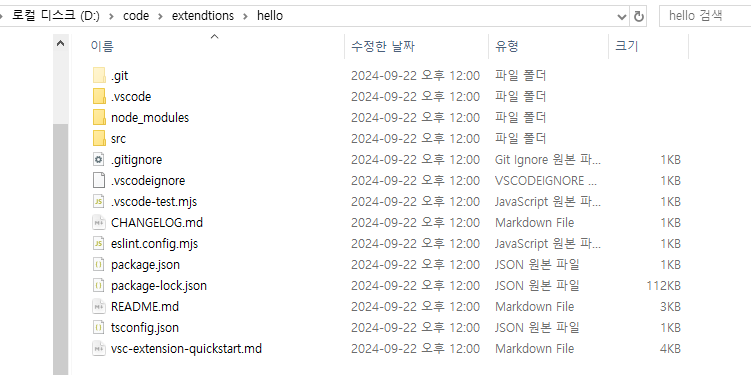
프로젝트 내부의 폴더와 파일의 구조는 아래와 같이 구성됩니다.
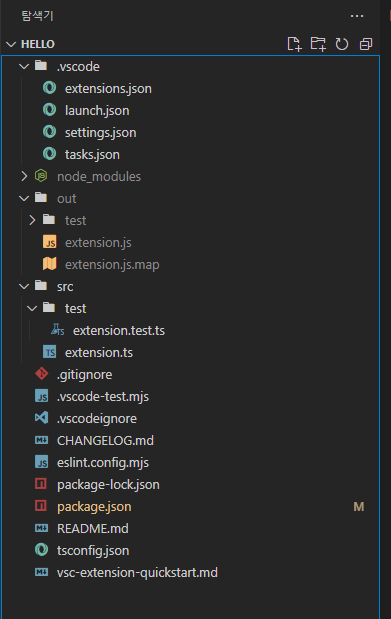
기본적으로 package.json에 익스텐션 설정을 작성하고, 실제 동작 로직은 extention.ts에 작성합니다.
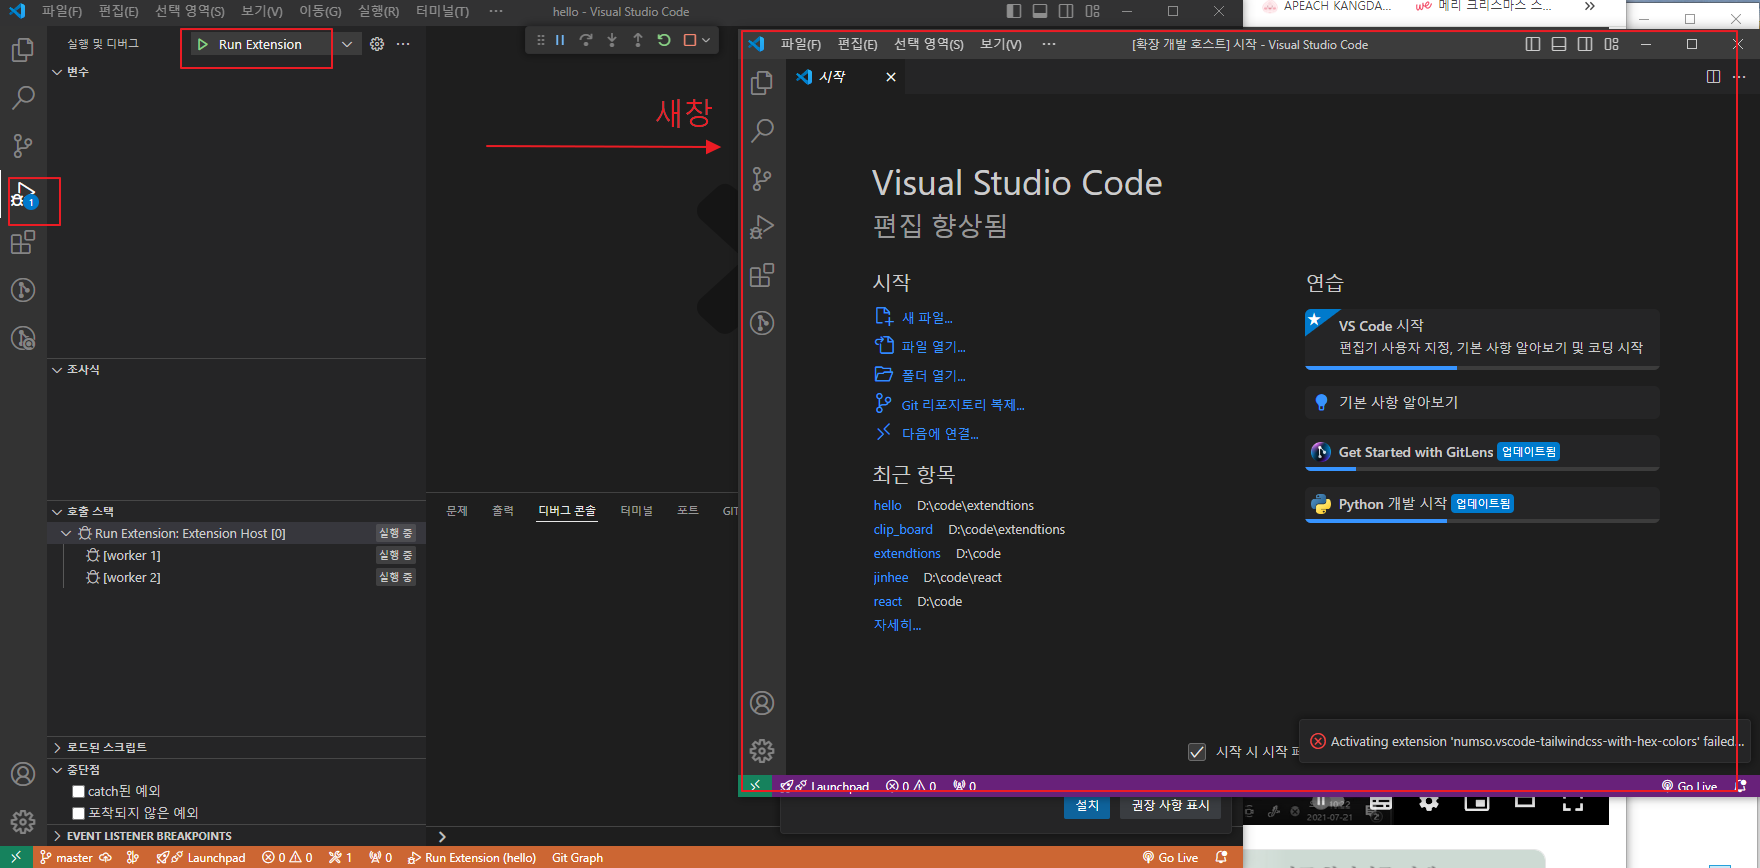
왼쪽 사이드 메뉴에 있는 디버깅 모드에 들어가서 Run Extention을 누르고 실행을 하게 되면
방금 실행한 익스텐션을 실행할 수 있는 새 창이 뜨게 됩니다.
F5를 눌러도 디버깅이 실행됩니다.
익스텐션의 동작을 확인하기 위해서는 shift + ctrl + p 를 누르고 Hello World를 선택하면
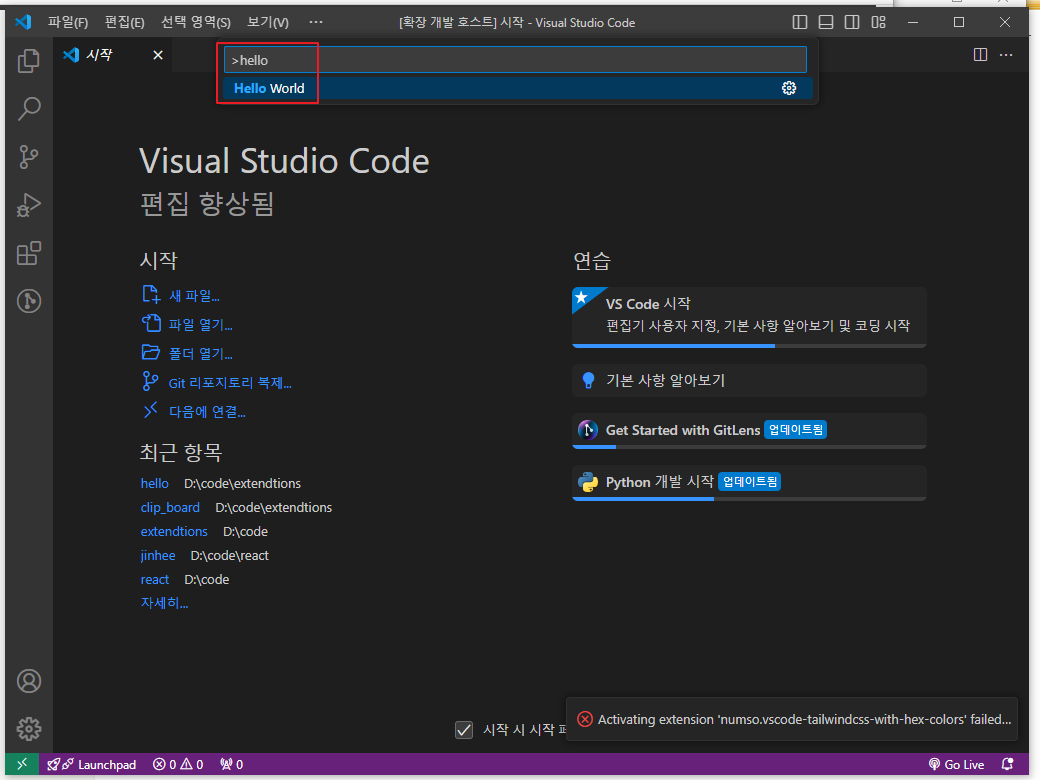
오른쪽 하단에 hello 메시지가 뜨게됩니다.
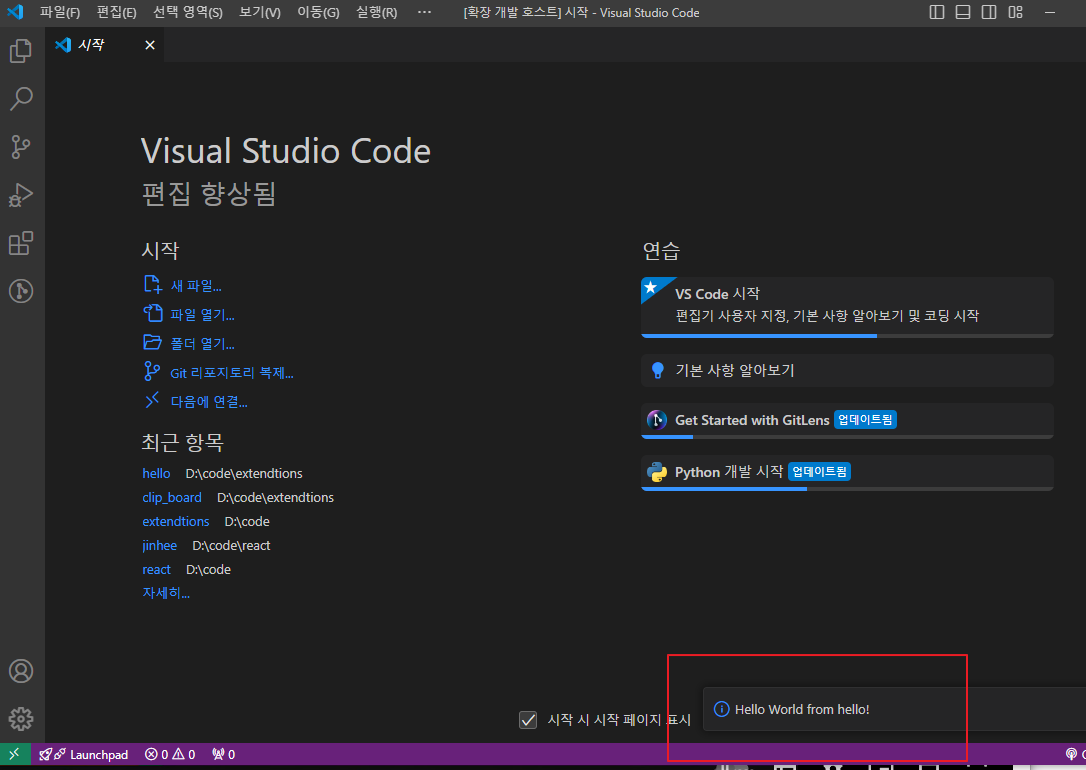
위에 메시지는 extension.ts 파일을 실행시켜서 보여주게 된 것 입니다.
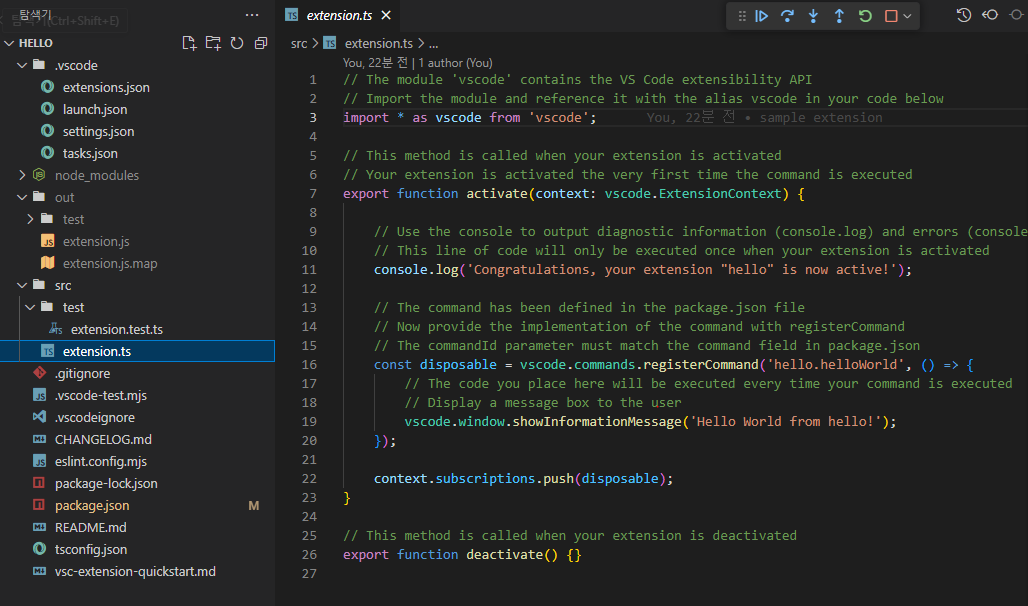
activate 함수를 보면 hello.helloWorld 명령어 이벤트가 실행되면
내부에 있는 vscode.window.showInformationMessage 메시지가 실행되는 이벤트 리스너를 생성하고, context.subscriptions에 넣어주는 것 입니다.
// The module 'vscode' contains the VS Code extensibility API
// Import the module and reference it with the alias vscode in your code below
import * as vscode from 'vscode';

// This method is called when your extension is activated
// Your extension is activated the very first time the command is executed
export function activate(context: vscode.ExtensionContext) {

    // Use the console to output diagnostic information (console.log) and errors (console.error)
    // This line of code will only be executed once when your extension is activated
    console.log('Congratulations, your extension "hello" is now active!');

    // The command has been defined in the package.json file
    // Now provide the implementation of the command with registerCommand
    // The commandId parameter must match the command field in package.json
    const disposable = vscode.commands.registerCommand('hello.helloWorld', () => {
        // The code you place here will be executed every time your command is executed
        // Display a message box to the user
        vscode.window.showInformationMessage('Hello World from hello!');
    });

    context.subscriptions.push(disposable);
}

// This method is called when your extension is deactivated
export function deactivate() {}
package.json을 열어보면 activationEvents와 commands가 있는데
activationEvents는 확장 프로그램이 언제 활성화될지 조건을 지정하는 배열입니다. 여기 정의된 이벤트가 발생할 때 VS Code가 확장 프로그램을 로드합니다.
contributes는 확장 프로그램이 VS Code의 기능을 어떻게 확장하거나 추가하는지 정의하는 부분입니다. 이 섹션은 확장이 제공하는 기능, 명령, 설정 등을 지정합니다.
아래 설정은 Command Palette에서 "Hello World"를 입력하면 hello.helloWorld 명령이 실행되도록 만듭니다.
...
    "activationEvents": [
            "onCommand:url-opener.helloWorld"
    ],
    ...
  "contributes": {
        "commands": [
            {
                "command": "url-opener.helloWorld",
                "title": "Hello World"
            }
        ]
    },
...
약어를 입력하면 준비된 명령어를 실행하는 익스텐션 제작
package.json의 activationEvents를 “*”로 변경했습니다.
activationEvents는 특정 명령어를 실행했을 때 동작하는 행위입니다.
“*”를 등록하면 어떠한 명령어를 입력해도 항상 이벤트가 발생하게 됩니다.
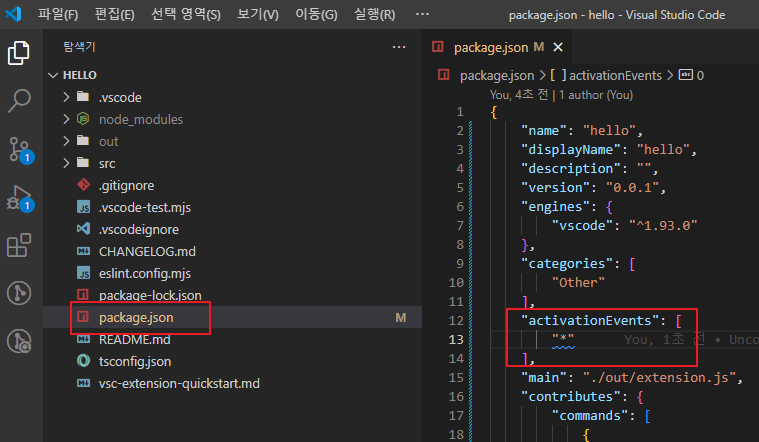
package.json 설정입니다.
{
    "name": "hello",
    "displayName": "hello",
    "description": "",
    "version": "0.0.1",
    "engines": {
        "vscode": "^1.93.0"
    },
    "categories": [
        "Other"
    ],
    "activationEvents": [
        "*"
    ],
    "main": "./out/extension.js",
    "scripts": {
        "vscode:prepublish": "npm run compile",
        "compile": "tsc -p ./",
        "watch": "tsc -watch -p ./",
        "pretest": "npm run compile && npm run lint",
        "lint": "eslint src",
        "test": "vscode-test"
    },
    "devDependencies": {
        "@types/vscode": "^1.93.0",
        "@types/mocha": "^10.0.7",
        "@types/node": "20.x",
        "@typescript-eslint/eslint-plugin": "^8.3.0",
        "@typescript-eslint/parser": "^8.3.0",
        "eslint": "^9.9.1",
        "typescript": "^5.5.4",
        "@vscode/test-cli": "^0.0.10",
        "@vscode/test-electron": "^2.4.1"
    }
}
extension.ts 파일을 수정해보도록 합니다.
import * as vscode from "vscode";
// 확장 프로그램이 활성화될 때 실행되는 함수
export function activate(context: vscode.ExtensionContext) {
// 자동 완성 항목 제공 객체 정의
const ruleBasicCode = {
provideCompletionItems() {
// 새로운 CompletionItem 생성
const snippetCompletion = new vscode.CompletionItem(
"RG Basic Code"
);
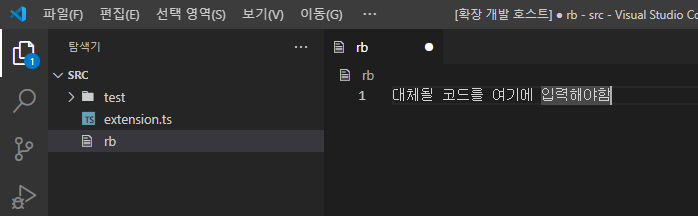
// 약어를 입력하면 삽입될 코드 정의
snippetCompletion.insertText = new vscode.SnippetString(
"대체될 코드를 여기에 입력해야함"
);
// 자동 완성 항목 설명 추가
snippetCompletion.documentation = new vscode.MarkdownString(
"Inserts a basic code for RealGrid"
);
// 자동 완성 항목이 특정 문자열 입력 시에도 나타나도록 설정
snippetCompletion.filterText = "RG Basic Code"; // 입력할 때 일치하도록 설정
// 제공할 CompletionItems 반환
return [snippetCompletion];
},
};
// 특정 언어에서 자동 완성 제공 규칙 등록
const providerBasicCode = vscode.languages.registerCompletionItemProvider(
["plaintext", "html", "javascript"], // 작동할 파일 유형
ruleBasicCode,
...Array.from("RG Basic Code") // 입력 중인 문자에 따라 자동 완성 트리거
);
// 활성화된 제공자를 확장 프로그램의 context에 추가
context.subscriptions.push(providerBasicCode);
}
// 비활성화 시 필요한 작업 정의 가능 (예: event listener 해제 등)
export function deactivate() {}
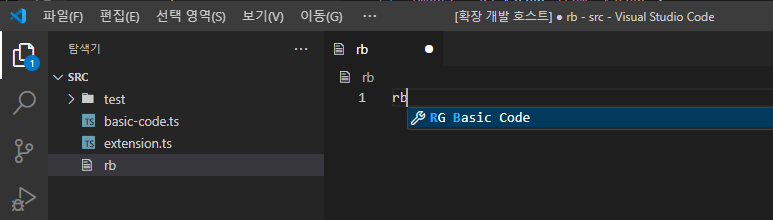
rb를 입력하면 vscode.CompletionItem에 입력된 문자열을 찾습니다.
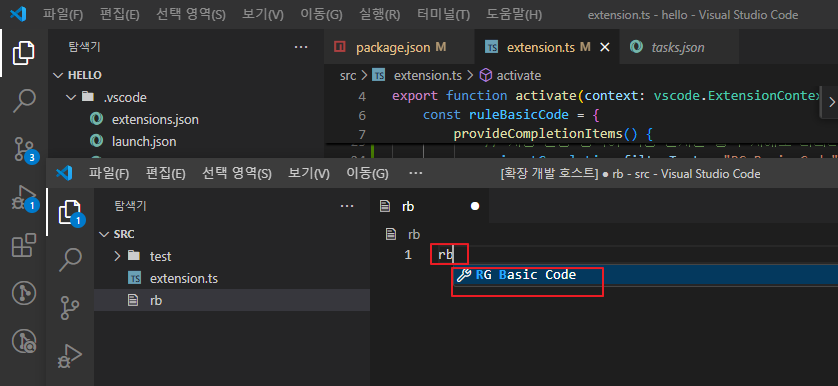
엔터를 치면 vscode.SnippetString에 등록된 문자열로 입력됩니다.
자동완성할 코드는 export해서 사용 하는 방법으로 수정해봅니다.
basic-code.ts 파일을 만들어주고 expert 해줄 문자열을 입력합니다.
//basic-code.ts
export let basicCode = `
function Test() {
return (
    <div className="test">

    </div>
);
}

export default Test;
`;
extension.ts에 basic-code.ts 파일을 import 해주고 vscode.SnippetString에 넣어줍니다.
import * as vscode from "vscode";
import * as bc from "./basic-code";

// 확장 프로그램이 활성화될 때 실행되는 함수
export function activate(context: vscode.ExtensionContext) {
    // 자동 완성 항목 제공 객체 정의
    const ruleBasicCode = {
        provideCompletionItems() {
            // 새로운 CompletionItem 생성
            const snippetCompletion = new vscode.CompletionItem(
                "RG Basic Code"
            );

            // 약어를 입력하면 삽입될 코드 정의
            snippetCompletion.insertText = new vscode.SnippetString(
                bc.basicCode //변경
            );

            // 자동 완성 항목 설명 추가
            snippetCompletion.documentation = new vscode.MarkdownString(
                "Inserts a basic code for RealGrid"
            );

            // 자동 완성 항목이 특정 문자열 입력 시에도 나타나도록 설정
            snippetCompletion.filterText = "RG Basic Code"; // 입력할 때 일치하도록 설정

            // 제공할 CompletionItems 반환
            return [snippetCompletion];
        },
    };

    // 특정 언어에서 자동 완성 제공 규칙 등록
    const providerBasicCode = vscode.languages.registerCompletionItemProvider(
        ["plaintext", "html", "javascript"], // 작동할 파일 유형
        ruleBasicCode,
        ...Array.from("RG Basic Code") // 입력 중인 문자에 따라 자동 완성 트리거
    );

    // 활성화된 제공자를 확장 프로그램의 context에 추가
    context.subscriptions.push(providerBasicCode);
}

// 비활성화 시 필요한 작업 정의 가능 (예: event listener 해제 등)
export function deactivate() {}
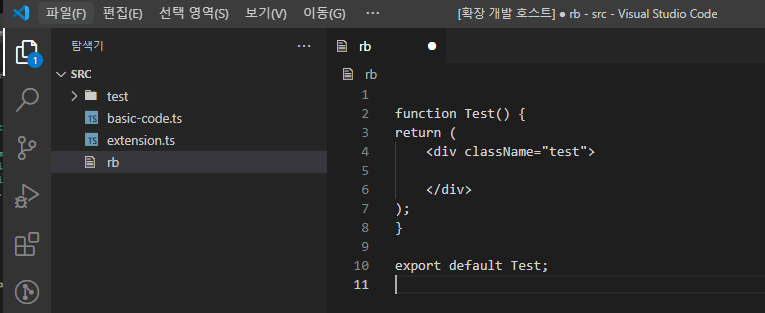
다시 디버깅 실행을 해주고 rb 입력을 하고 선택을 하면 자동 완성 된 코드를 볼 수 있습니다.
마켓플레이스 등록
먼저 Microsoft 계정이 존재해야 하며, VS Code Publisher 계정 생성해야 합니다.
VS Code 확장을 패키징하고 게시하기 위해 vsce라는 CLI 도구를 사용합니다.
npm install -g @vscode/vsce
확장을 게시하려면 Publisher를 만들어야 합니다.
이는 VS Code Marketplace에서 확장의 출처를 나타내는 역할을 합니다.
명령을 실행하면 Microsoft 계정에 로그인해야 하며, Publisher 이름과 함께 생성이 완료됩니다.
vsce create-publisher <publisher-name>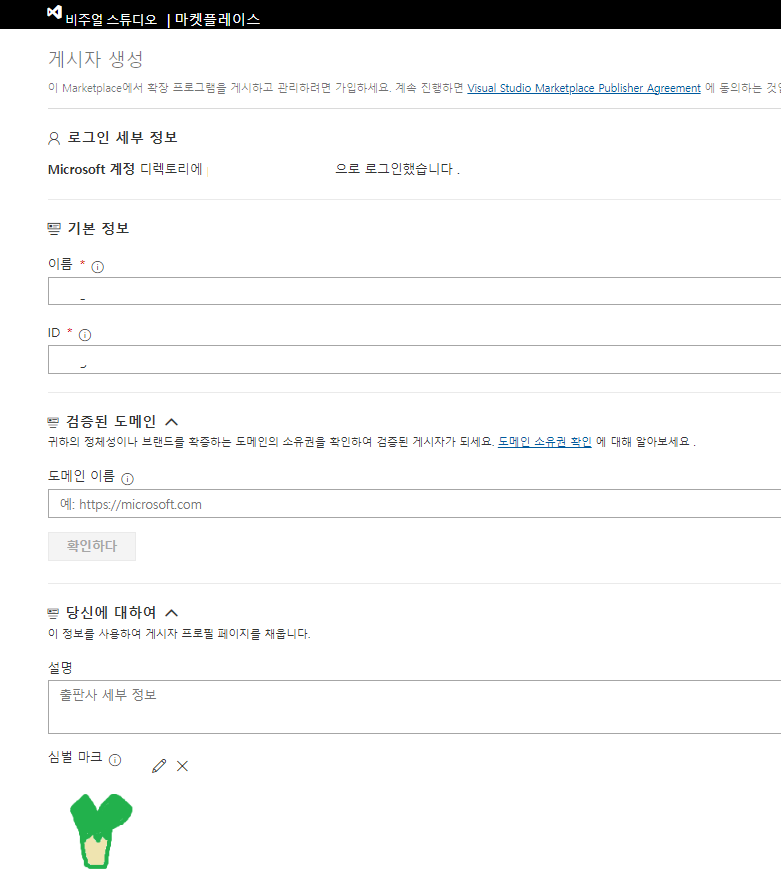
확장을 게시하기 전에 패키징을 수행합니다.
터미널에서 다음 명령을 실행합니다.
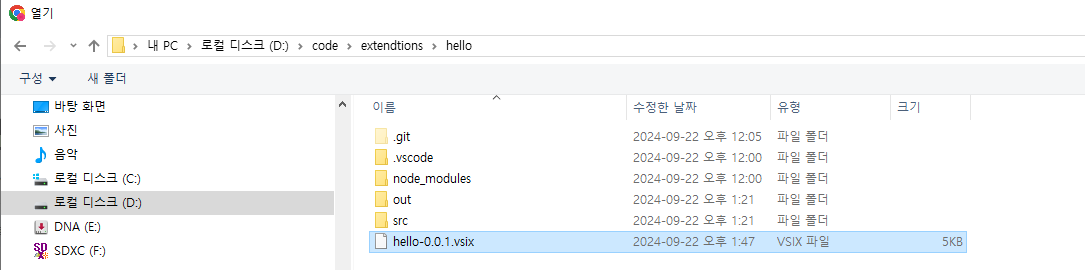
vsce package이 명령을 실행하면 .vsix 파일이 생성됩니다. 이 파일이 실제로 배포될 확장 프로그램입니다.
패키징이 완료되면, 다음 명령을 통해 확장을 Marketplace에 게시할 수 있습니다.
vsce publish
또는 https://marketplace.visualstudio.com/manage/publishers 에서 직접 .vsix 파일을 등록할 수 있습니다.
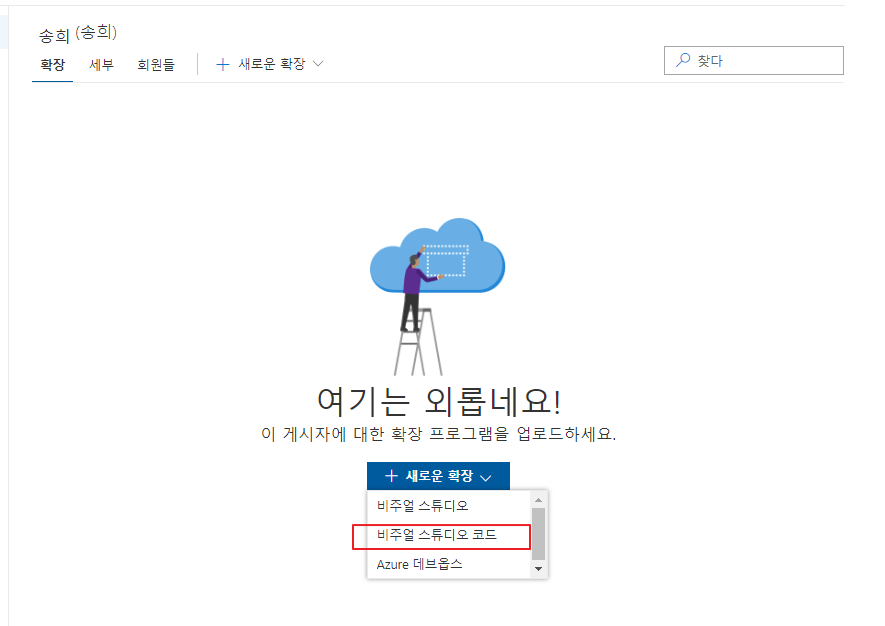
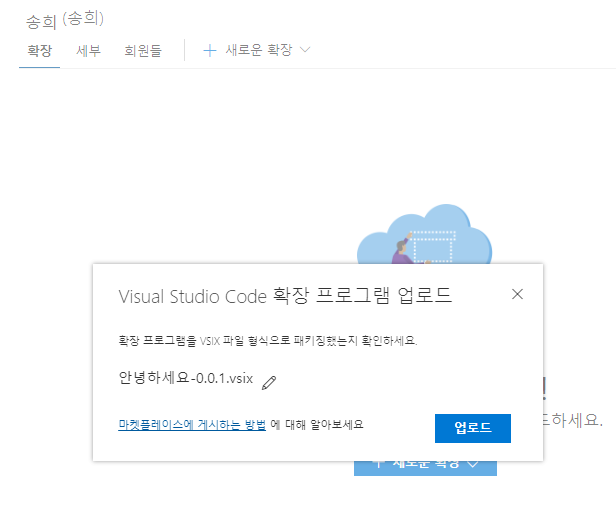
package.json 설정 검토해서 이상이 없다면 등록을 성공합니다.
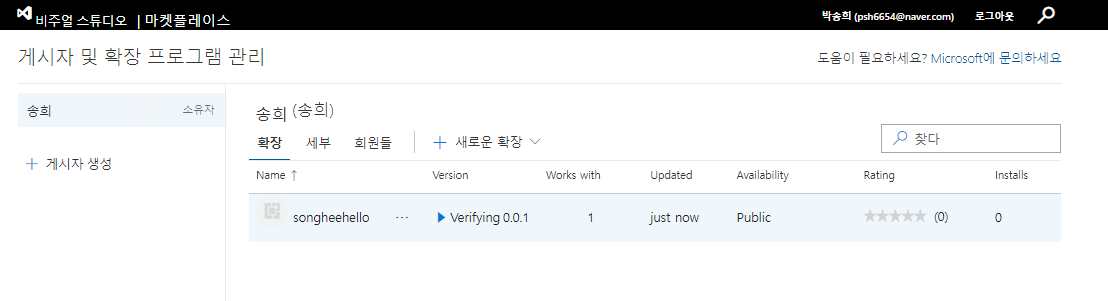
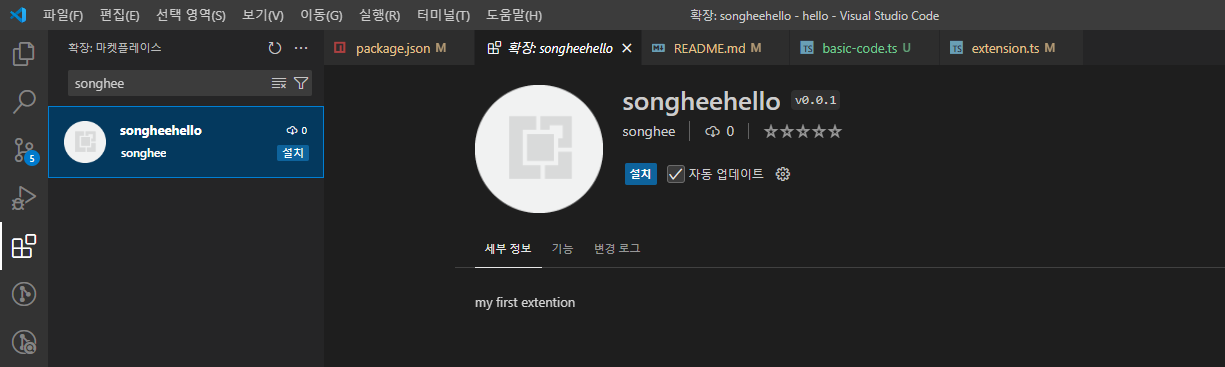
몇 분 후에는 마켓플레이스에서 등록한 익스텐션이 검색이 되며 설치도 가능합니다.
확장을 수정하고 새로운 버전을 게시하려면 version을 업데이트한 후 다시 패키징하고 게시할수도 있습니다.
vsce package
vsce publish'vscode extension' 카테고리의 다른 글
| vscode extension 열린 파일 view tree에 추가하기 (0) | 2024.10.21 |
|---|---|
| vscode extension Tree view 추가 (0) | 2024.10.21 |
| vscode extension Activity Bar 아이콘 생성 (0) | 2024.10.21 |